Pokopia Environment Level Guide – All Levels, Rewards, and Unlocks
The environment level in Pokémon Pokopia determines which items, challenges, and progress you unlock. You increase it mainly by attracting new Pokémon and raising their comfort level. In this Pokopia level guide, we'll show you every method and upgrade to quickly bring your environment level to level 10 and unlock all items and recipes.
Pokémon Pokopia Environment Level – Quick Overview
-
Maximum level 10
-
Each area has its own environment level
-
Higher levels unlock furniture, recipes, and buildings
-
Increases through Pokémon comfort and new residents
Overview
-
Increasing the environment level
-
Frequently asked questions (FAQ)
-
Environment level rewards per area
How can you increase the environment level quickly?
In short: the more Pokémon you have living in an area, the less high their satisfaction needs to be individually. To keep increasing your area's level regardless, it helps to meet the Pokémon's needs and fulfill their wishes.
What helps to increase the environment level:
What rewards are there for increasing the environment level?
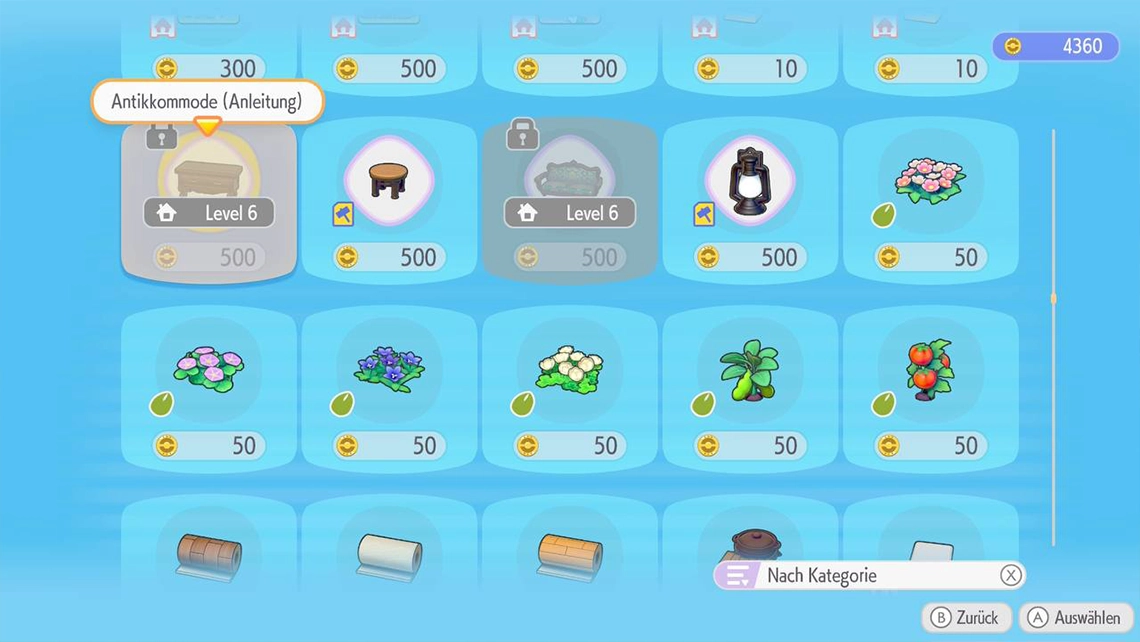
With every level reached in an area, the PC has new items and recipes in stock. You'll find out exactly which ones in this list below.
Withered Wasteland
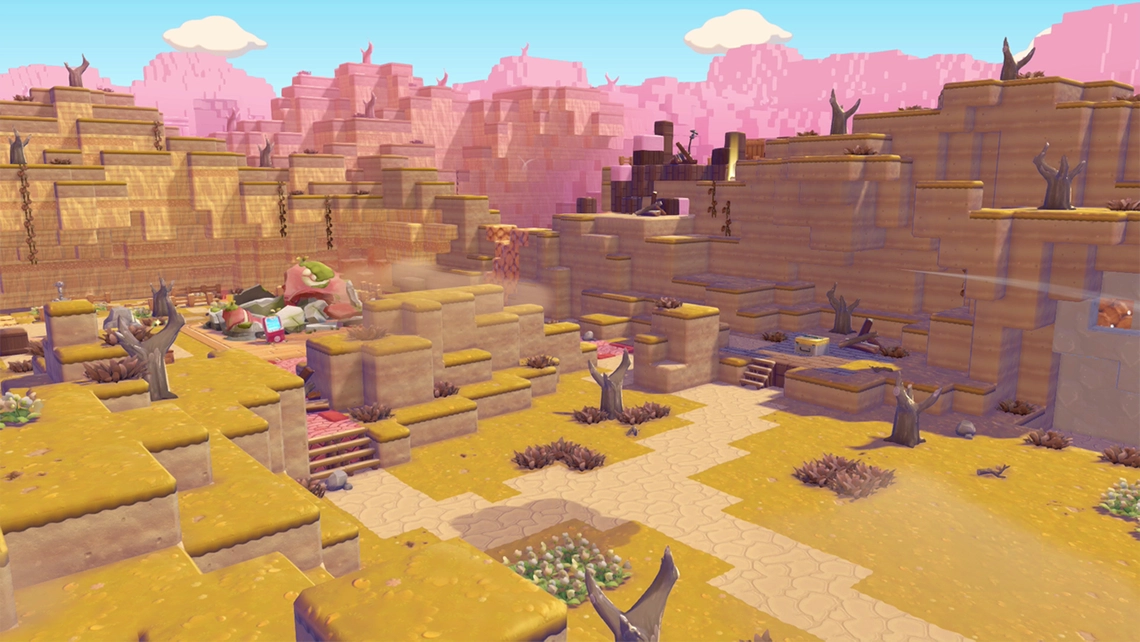
In Withered Wasteland, you'll mainly unlock garden decorations. It's also where most of the inventory expansions become available.
Level 2
|
Image
|
Item
|
![]()
|
Garden Bench
|
![]()
|
Leaf Building Kits
|
![]()
|
Log Bed
|
![]()
|
Cup
|
![]()
|
Mysterious Glasses
|
![]()
|
Thin Candle
|
![]()
|
Wooden Chair
|
![]()
|
Workbench (Recipe)
|
Level 3
|
Image
|
Item
|
![]()
|
Castform Weather Doll
|
![]()
|
Leaf Building Kits (Recipe)
|
![]()
|
Feebas Fountain
|
![]()
|
Security Camera
|
![]()
|
Building Blocks
|
![]()
|
Tripod
|
![]()
|
Twisted Potted Plant
|
![]()
|
Wooden Tub
|
![]()
|
Wooden Bed
|
![]()
|
Arch Tiles (Recipe)
|
![]()
|
Stacked Straw (Recipe)
|
![]()
|
Woodworking Recipe Set (Recipe)
|
![]()
|
Wooden Gate (Recipe)
|
Level 4
|
Image
|
Item
|
![]()
|
Handcart
|
![]()
|
Leaf Cottage Kit (Recipe)
|
![]()
|
Mushroom Lantern Path
|
![]()
|
PP Up
|
![]()
|
Berry Baskets (Recipe)
|
![]()
|
Community Chest (Recipe)
|
![]()
|
Partition Wall (Recipe)
|
![]()
|
Wooden Ladder (Recipe)
|
Level 5
|
Image
|
Item
|
![]()
|
Fire Pit
|
![]()
|
Leaf House Kit (Recipe)
|
![]()
|
Pink Cottage Kit (Recipe)
|
![]()
|
Dark Roof Recipe Set (Recipe)
|
![]()
|
Window with Shutter (Recipe)
|
![]()
|
Magikarp Decoration
|
![]()
|
Party Popper (Recipe)
|
![]()
|
Floor Hatch with Flap (Recipe)
|
Level 6
|
Image
|
Item
|
![]()
|
Poké Metal Bar
|
![]()
|
Wall Mirror
|
![]()
|
Diagonal Wooden Floor (Recipe)
|
![]()
|
Floor Switch (Recipe)
|
![]()
|
Garden Lantern (Recipe)
|
![]()
|
Wall Mirror (Recipe)
|
Level 7
|
Image
|
Item
|
![]()
|
Rare Poké Metal Bar
|
![]()
|
Ditto Rug (Recipe)
|
![]()
|
Garden Bench (Recipe)
|
![]()
|
Garden Chair (Recipe)
|
![]()
|
Painted Wall (Recipe)
|
Level 8
|
Image
|
Item
|
![]()
|
Beautiful Park Building Set (Recipe)
|
![]()
|
Garden Flowers (Recipe)
|
![]()
|
Garden Table (Recipe)
|
![]()
|
Simple Flooring (Recipe)
|
Level 9
|
Image
|
Item
|
![]()
|
Berry Chair (Recipe)
|
![]()
|
Berry Table Lamp (Recipe)
|
![]()
|
Modern Wall (Recipe)
|
Level 10
|
Image
|
Item
|
![]()
|
Berry Bed (Recipe)
|
![]()
|
Berry Hanging Lamp (Recipe)
|
![]()
|
Berry Table (Recipe)
|
![]()
|
Berry Wall Decoration (Recipe)
|
![]()
|
Polka Dot Print (Recipe)
|
Bleak Beach
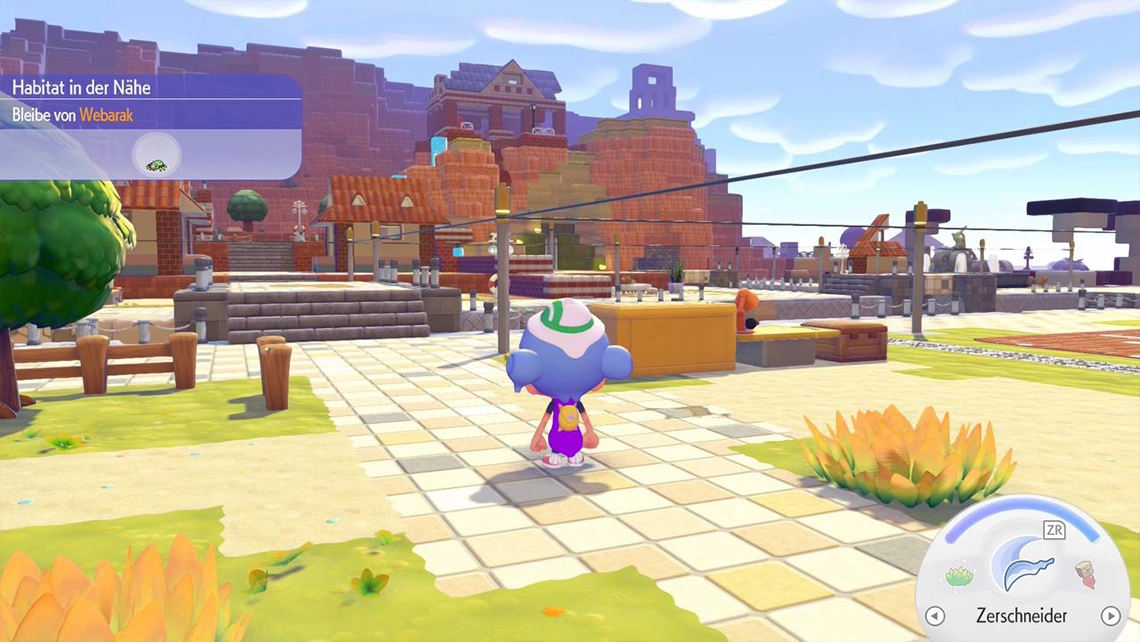
In Bleak Beach, you mainly unlock beach furniture and resort furnishings. Level 5 is especially interesting here, thanks to the mini lock gate, which lets you control the water.
Level 2
|
Image
|
Item
|
![]()
|
Beach Chair
|
![]()
|
Beach Umbrella
|
![]()
|
Table Lamp
|
![]()
|
Sand Cabin Kits
|
![]()
|
Play Hoop
|
![]()
|
Birdhouse
|
![]()
|
Brick Stairs (Recipe)
|
![]()
|
Cash Register (Recipe)
|
![]()
|
Plate (Recipe)
|
Level 3
|
Image
|
Item
|
![]()
|
First Aid Kit
|
![]()
|
Knitting Set
|
![]()
|
Sand Cabin Kits
|
![]()
|
Harbor Street Lamps (Recipe)
|
![]()
|
Subtle Sofa (Recipe)
|
Level 4
|
Image
|
Item
|
![]()
|
Pikachu Fountain Kit
|
![]()
|
Subtle Cabinet
|
![]()
|
Subtle TV Table
|
![]()
|
Sand Cabin Kits
|
![]()
|
Ship Railing (Recipe)
|
![]()
|
Brick Wall (Recipe)
|
![]()
|
Grate Flooring (Recipe)
|
![]()
|
Subtle Lamp (Recipe)
|
Level 5
|
Image
|
Item
|
![]()
|
Mini Lock Gate
|
![]()
|
Orange Cabin Kit
|
![]()
|
Sand Cabin Kits
|
![]()
|
Sliding Window
|
![]()
|
Washing Machine
|
![]()
|
Brick Roof Recipe Set
|
![]()
|
Modern Door (Recipe)
|
![]()
|
Plastered Wall (Recipe)
|
![]()
|
Sliding Window (Recipe)
|
![]()
|
Washing Machine (Recipe)
|
Level 6
|
Image
|
Item
|
![]()
|
Poké Metal Bar
|
![]()
|
Brick Border (Recipe)
|
![]()
|
Resort Hammock (Recipe)
|
![]()
|
Resort Chair (Recipe)
|
![]()
|
Soft Carpet Flooring (Recipe)
|
![]()
|
Wall Switch (Recipe)
|
Level 7
|
Image
|
Item
|
![]()
|
Rare Poké Metal Bar
|
![]()
|
Resort Chair (Recipe)
|
![]()
|
Resort Sofa (Recipe)
|
![]()
|
Fabric Wall (Recipe)
|
![]()
|
Poké Ball Mat (Recipe)
|
Level 8
|
Image
|
Item
|
![]()
|
Stylish Café (Recipe)
|
![]()
|
Dam (Recipe)
|
![]()
|
Brick Border (Corner) (Recipe)
|
![]()
|
Resort Bed (Recipe)
|
![]()
|
Resort Table (Recipe)
|
Level 9
|
Image
|
Item
|
![]()
|
Inflatable Boat
|
![]()
|
Pikachu Sofa
|
![]()
|
Cute Chair (Recipe)
|
![]()
|
Cute Lamp (Recipe)
|
![]()
|
Starry Sky Wall (Recipe)
|
Level 10
|
Image
|
Item
|
![]()
|
Beach Pokémon Center Set
|
![]()
|
Desert Pokémon Center Set
|
![]()
|
Cute Bed (Recipe)
|
![]()
|
Cute Dresser (Recipe)
|
![]()
|
Cute Sofa (Recipe)
|
![]()
|
Cute Table (Recipe)
|
![]()
|
Gingham Wall (Recipe)
|
Rocky Ridges
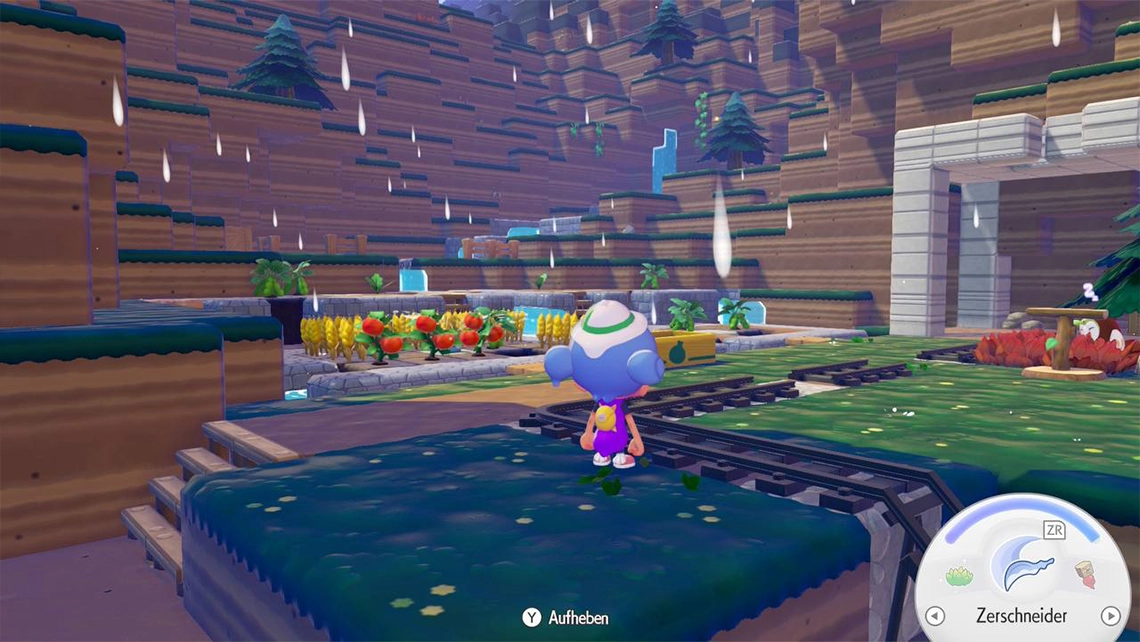
In Rocky Ridges, you'll mainly unlock party supplies quickly, so you can throw parties in the area sooner. Rocky Ridges gets especially interesting at level 6, since the sensor lets you build great automations.
Level 2
|
Image
|
Item
|
![]()
|
Standing Microphone
|
![]()
|
Stone Bench
|
![]()
|
Stone Cabin Kits
|
![]()
|
Leftover Thread
|
![]()
|
Stepping Stones
|
Level 3
|
Image
|
Item
|
![]()
|
Balloons
|
![]()
|
Wool
|
![]()
|
Sparkling Water
|
![]()
|
Moon Dance Statue Kit
|
![]()
|
Stage Podium
|
![]()
|
Stone Building Kits
|
![]()
|
Iron Bed (Recipe)
|
![]()
|
Party Wall Decoration
|
Level 4
|
Image
|
Item
|
![]()
|
Party Cups
|
![]()
|
Speaker
|
![]()
|
Stone Cottage Kit
|
![]()
|
Iron Plate Flooring (Recipe)
|
Level 5
|
Image
|
Item
|
![]()
|
Gray Cabin Kit
|
![]()
|
Refrigerator
|
![]()
|
Stone House Kit
|
![]()
|
Tablet
|
![]()
|
Iron Door (Recipe)
|
![]()
|
Iron Ladder (Recipe)
|
![]()
|
Iron Stairs (Recipe)
|
![]()
|
Refrigerator (Recipe)
|
![]()
|
Stage Podium (Recipe)
|
Level 6
|
Image
|
Item
|
![]()
|
Sensor (Recipe)
|
![]()
|
Pretty Stone Flooring (Recipe)
|
Level 7
|
Image
|
Item
|
![]()
|
Rare Poké Metal Bar
|
![]()
|
Industrial Bench (Recipe)
|
![]()
|
Industrial Desk (Recipe)
|
![]()
|
Iron Wall (Recipe)
|
![]()
|
Poké Ball Doormat (Recipe)
|
Level 8
|
Image
|
Item
|
![]()
|
Concert Stage Kit
|
![]()
|
Light Block (Recipe)
|
![]()
|
Luxury Sofa (Recipe)
|
![]()
|
Luxury Table (Recipe)
|
Level 9
|
Image
|
Item
|
![]()
|
Luxury Chair (Recipe)
|
![]()
|
Luxury Lamp (Recipe)
|
![]()
|
Fluffy Wall (Recipe)
|
![]()
|
High Striker
|
Level 10
|
Image
|
Item
|
![]()
|
Rocky Ridges Pokémon Center Kit
|
![]()
|
Luxury Dresser (Recipe)
|
![]()
|
Luxury Bed (Recipe)
|
![]()
|
Pretty Poké Ball Pattern (Recipe)
|
Sparkling Skylands
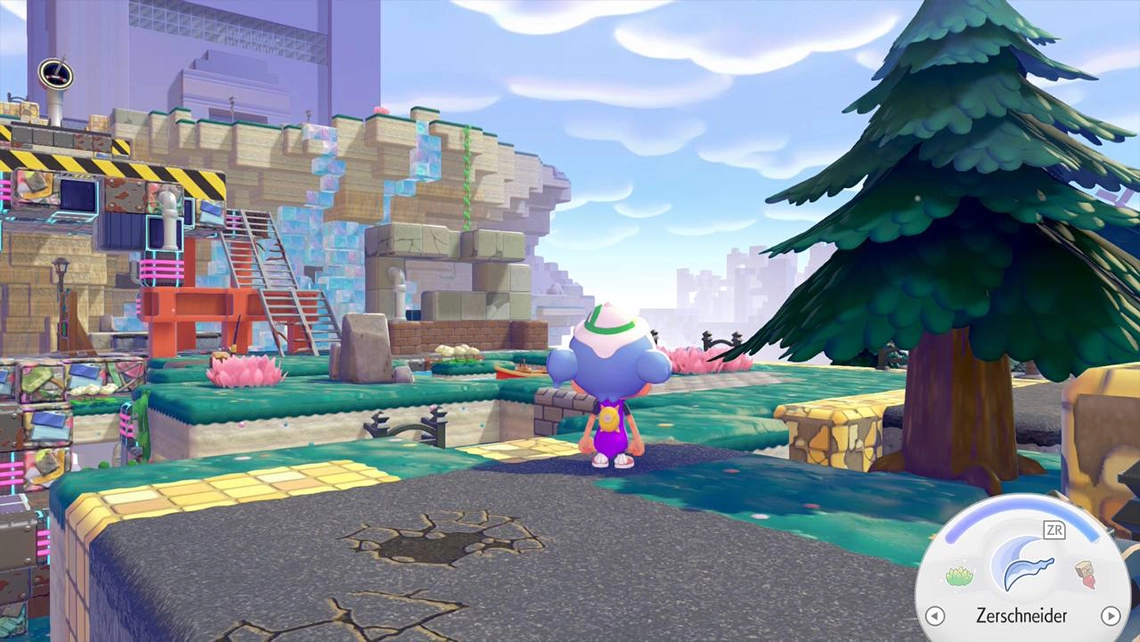
In Sparkling Skylands, the focus is mainly on unlocking pop art furniture and decorations. At level 6, the mini generator becomes interesting, letting you generate electricity automatically. And if you attract Porygon to the island, you can skip the power poles entirely, since that unlocks the conductor blocks.
Level 2
|
Image
|
Item
|
![]()
|
Mailbox
|
![]()
|
Office Chair
|
![]()
|
Slide
|
![]()
|
Asphalt Path (Recipe)
|
![]()
|
CD Shelf (Recipe)
|
![]()
|
Concrete Stairs (Recipe)
|
![]()
|
Metal Fence (Recipe)
|
![]()
|
Mosaic Tiles (Recipe)
|
Level 3
|
Image
|
Item
|
![]()
|
Bathtub
|
![]()
|
Newspaper Stand
|
![]()
|
Small Office Cabinet
|
![]()
|
Poké Mart Kit
|
![]()
|
Pop Art Sofa
|
![]()
|
CD Player (Recipe)
|
Level 4
|
Image
|
Item
|
![]()
|
Newspaper
|
![]()
|
Office Locker
|
![]()
|
Concrete Cover (Recipe)
|
![]()
|
Corrugated Metal (Recipe)
|
![]()
|
Metal Smelting Furnace (Recipe)
|
![]()
|
Wall Ledge (Recipe)
|
![]()
|
Stone Fence (Recipe)
|
![]()
|
Glass Pane (Recipe)
|
Level 5
|
Image
|
Item
|
![]()
|
Game Boy
|
![]()
|
Stone Fireplace
|
![]()
|
Yellow Cabin Kit
|
![]()
|
Game Boy (Recipe)
|
![]()
|
Glass Window (Recipe)
|
![]()
|
Plain Door (Recipe)
|
Level 6
|
Image
|
Item
|
![]()
|
Poké Metal Bar
|
![]()
|
Concrete Border Recipe Set (Recipe)
|
![]()
|
Mini Generator (Recipe)
|
![]()
|
Pop Art Bed (Recipe)
|
![]()
|
Pop Art Chair (Recipe)
|
Level 7
|
Image
|
Item
|
![]()
|
Rare Poké Metal Bar
|
![]()
|
Pop Art Sofa (Recipe)
|
![]()
|
Pop Art Table (Recipe)
|
![]()
|
Rough Wall (Recipe)
|
Level 8
|
Image
|
Item
|
![]()
|
Small Office Kit
|
![]()
|
Pop Art Lamp (Recipe)
|
![]()
|
Supermarket Flooring (Recipe)
|
Level 9
|
Image
|
Item
|
![]()
|
Large Drum
|
![]()
|
Gaming Chair (Recipe)
|
![]()
|
Gaming Light (Recipe)
|
![]()
|
Pokémon Center Wall (Recipe)
|
Level 10
|
Image
|
Item
|
![]()
|
Sparkling Skylands Pokémon Center Kit
|
![]()
|
Berry Pattern (Recipe)
|
![]()
|
Gaming Refrigerator (Recipe)
|
![]()
|
Gaming PC (Recipe)
|
Palette Town

Level 2
|
Image
|
Item
|
![]()
|
Large Storage Chest
|
![]()
|
Eevee Plush
|
![]()
|
Item Finder
|
Level 3
|
Image
|
Item
|
![]()
|
CD Player
|
![]()
|
Fishing Rod
|
![]()
|
Pikachu Plush
|
![]()
|
Counter
|
![]()
|
City Street Lamp (Recipe)
|
Level 4
|
Image
|
Item
|
![]()
|
Fan
|
![]()
|
Light Wood Wall (Recipe)
|
Level 5
|
Image
|
Item
|
![]()
|
Arcanine Plush
|
![]()
|
Black Paint
|
![]()
|
Blue Paint
|
![]()
|
Light Blue Paint
|
![]()
|
Green Paint
|
![]()
|
Pink Paint
|
![]()
|
Red Paint
|
![]()
|
White Paint
|
![]()
|
Yellow Paint
|
![]()
|
Wall Monitor
|
![]()
|
Tangled Cables
|
![]()
|
Antique Bed (Recipe)
|
![]()
|
Antique Chair (Recipe)
|
![]()
|
Antique Table (Recipe)
|
Level 6
|
Image
|
Item
|
![]()
|
Dragonite Plush
|
![]()
|
Poké Metal Bar
|
![]()
|
Antique Dresser (Recipe)
|
![]()
|
Antique Sofa (Recipe)
|
Level 7
|
Image
|
Item
|
![]()
|
Rare Poké Metal Bar
|
![]()
|
Feraligatr Plush
|
![]()
|
Antique Lamp (Recipe)
|
![]()
|
Antique Dresser (Recipe)
|
![]()
|
Antique Wall (Recipe)
|
![]()
|
Safe (Recipe)
|
Level 8
|
Image
|
Item
|
![]()
|
Ditto Plush
|
![]()
|
Fountain Square Kit
|
![]()
|
Antique Clock (Recipe)
|
![]()
|
Antique Cabinet (Recipe)
|
![]()
|
Sandstone (Recipe)
|
![]()
|
Light Antique Wall (Recipe)
|
Level 9
|
Image
|
Item
|
![]()
|
Poké Ball Light (Recipe)
|
![]()
|
Poké Ball Sofa (Recipe)
|
![]()
|
Photo Stand
|
![]()
|
Stone Arch (Recipe)
|
![]()
|
Light Brown Stone Arch (Recipe)
|
![]()
|
Red Stone Arch (Recipe)
|
![]()
|
White Stone Arch (Recipe)
|
![]()
|
Yellow Stone Arch (Recipe)
|
Level 10
|
Image
|
Item
|
![]()
|
Poké Ball Bed (Recipe)
|
![]()
|
Poké Ball Dresser (Recipe)
|
![]()
|
Poké Ball Wall (Recipe)
|
![]()
|
Poké Ball Table (Recipe)
|
F.A.Q
Can the environment level decrease again?
Yes, the environment level can decrease again if Pokémon lose their home, or if items belonging to that home are removed. Because of this, the environment level can even drop lower than it was before you placed an item.
What is the maximum environment level?
The highest environment level is currently level 10.
How do I check the environment level?
At the PC next to the Pokémon Center, pressing "-" lets you check the environment level. There you can also see the Pokémon's satisfaction.
Which areas should you level first?
It definitely makes sense to level all areas up to level 5, since that's required to complete the story. Leveling the areas further unlocks additional conveniences, though, like the sensor from level 6 in Rocky Ridges, which lets you build automations.
Tags: #guide #pokopia
Bunny
enjoys playing games on the hardest difficulty setting to earn achievements. Has been writing and vlogging about video games, with a particular focus on indie games.



Comments
No comments yet. Be the first to comment!
Leave a comment
Your email address will not be published.